Should I buy Nylon or Mohair climbing skins?
Pure Nylon Skins
Nylon skins are cheap, the most durable, and grip the best so why don't we push more people into them? The answer is in the glide. Synthetic Nylon has much more friction which translates to less glide and more energy expended on the skin track. While this may not sound like the end of the world, it makes a huge difference. In fact, the glide of your skin is just as important as the range of motion of your boot or the weight of you ski when it comes to efficiency on the skin track. Nylon skins are also heavier and less packable.
So even though these skins will grip on the steepest of skin tracks, you will be kicking yourself when the guy on a mohair mix skin sets a lower grade uptrack, eventually catches up to you and then has the energy to get another lap in. So unless you're a splitboarder who needs lots of grip, or you're looking to get your kid into a setup on the cheap, we do not recommend going with a full Nylon skin.
Nylon-Mohair Climbing Skin Blends
The vast majority of recreational ski tourers who come through our shop will leave with a blended Nylon/Mohair skin. This gets you the best of both worlds. They glide much better than pure Nylon but still grip well and pack up reasonably small. They also shed water better than pure mohair. The industry standard for these blends is generally 70% Mohair/30% Nylon. They are preferred for almost all setups with the exception of race skis or light and fast powder boards. Our personal favorite in this category is the Pomoca Pro S-Glide.
Pure Mohair Climbing Skins
The slickest skin plush out there. Every race setup should be sporting pure mohair skins. Not only do these options offer the the best glide capabilities but they are the lightest and most packable option. In addition to the spandex clad race crowd, we have started to see pure mohair skins used in wider widths for fat powder specific skis. The idea behind this trend is that fat skis have more surface area which translates to more grip. Powder boards also tour during mid winter when the snow is soft and grippy. Mohair is less durable than nylon and also soaks up more moisture, so they are not recommended for spring touring or ski mountaineering where wet snow and rocks prevail. In this category, we love the Pomoca Race Pro 2.0.
Why Pomoca is Cripple Creek's staff picked skins?
If you've read this far or you've ever stopped by one of our shops to chat about skins, you'll know that Cripple Creek has a particular affinity for Swiss made Pomoca skins. We love these skins for their packability and ease of setup, but the one feature that puts them above any other skin manufacturer is the quality of their glue. Pomoca glue keeps your skins firmly attached to the bottom of your skis all day long, but remove with ease when it comes time to transition at the top of your line. Most importantly, though, is that they don't leave and residue on the bottom of your skis. If you've ever been touring, you know how devastating it is have your run ruined by gloppy glue on the bottom of your skis. Pomoca eliminates this problem. So if you're in the market for new skins, don't hesitate to spend the few extra bucks on some Pomoca skins. You'll be glad you did.
Sizing your ski touring climbing skins
For most touring applications, it is preferred to have a skin that covers the entire base of the ski leaving approximately 2mm of room on either side of the edge. This provides adequate grip while also allowing the ski to edge into the snow when side hilling. Note that full edge to edge coverage becomes less important with skis wider than 100mm underfoot. The amount of surface area on these larger boards translates to more grip.
When shopping for a skin with this coverage, it is first necessary to determine the width you would like to purchase. Most manufacturers sell their skins in incremental width options of 100, 120, and 140mm. You want to choose a skin that matches the width of the shovel of your ski- or close to it. That way when you go to trim the skin, it gives you edge to edge coverage along the entire length of the ski. If you are cutting skins for a 100mm waist ski, this typically means you will be purchasing a skin that is 120mm in width. It would even be acceptable to purchase a 140mm width skin, just expect to have some excess material when you go to trim them to size. As for length, most companies sell you a 200+cm skin that you then cut down to size when you install your tip attachment Other companies like Pomoca will skins in a specific lengths. If this is the case, be sure to purchase the appropriate length. If not, the length will be determined when install the tip attachment.
For other applications, such as racing, a touring skin might not cover the entire surface area of the ski and it also might not include a tail attachment. Race style skins are designed to be applied and removed as efficiently as possible. For this reason tail clips are excluded so you can transition in one smooth motion. If you've ever seen a race style transition, skiers will remove their skins from the tip and then rip them off and step into their binding in one motion. If you're looking to get into racing, be sure to check out some more specific articles tailored to race style skins!
Doug Stenclik gives a rundown of choosing, sizing, and storing skins
Setup and Cutting Skins
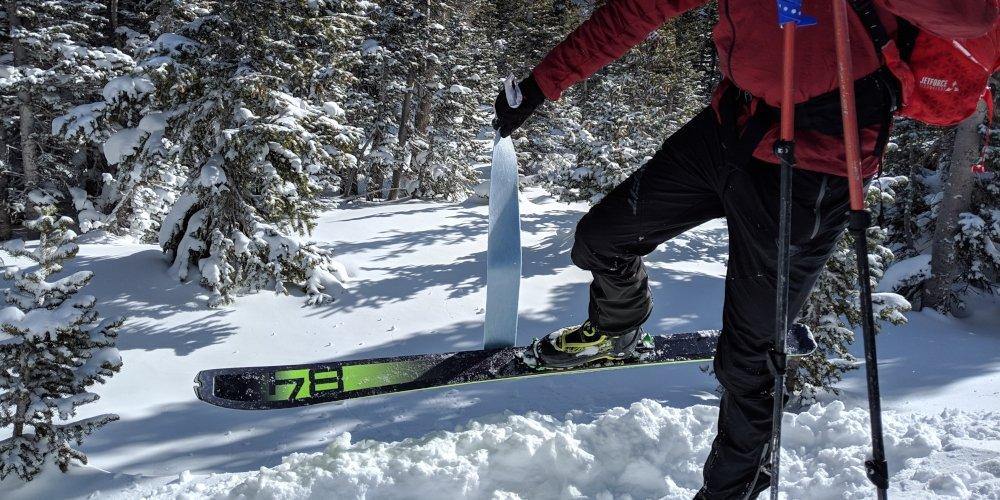
Skin cutting can be done at home or can be done by a “professional” from wherever you bought them. All you need is a razor blade, but Pomoca makes a really great little tool that will make it faster and neater by providing an offset edge. Why the offset? If you had wall-to-wall carpeting (skins) on the bottom of your ski covering your edges, it would make side hilling a scary task. I like to leave a little more than 2 mm on either side so the entire metal edge and a little base is showing. That way if you are on a windy mountain getting ready for a second lap it is easier to leave each edge exposed.
Skinny skins for long approaches: Don’t throw away your old narrow skins yet. As anyone who has done the Grand Traverse knows, a skinny skin is lighter and has better glide for long tours.
Doug Demos how to cut a climbing skin
Tail Clips
They sure are great when your glue is failing in cold weather, but people have done without them for years and SkiMo racers rarely use them. Some sort of rubber in the tip or tail attachment to keep tension for when the glue does fail is a must for almost all skiers. The advantage of not having them is purely for transition time and weight, things most important to the spandex crowds.
When in the backcountry, keep your skins close to your body- they work best if kept warm. If you are doing multiple laps try to keep them close to your body and not in your pack. I like to keep them next to my base layer in the pouch that my waist belt from my pack makes inside my jacket, but be careful wherever you stow them, there is nothing worse than getting to the bottom and seeing your skin 500 feet up a run!
Don’t put your skins on before you leave the house in the morning, either, especially if you're gonna throw them on the roof rack. Some skins come with "skin savers" or perforated sheets to place between skins. We definitely like these for long term storage, but rarely use them mid season and definitely not between laps on a tour. We have had instances where glue comes off on to the saver, and would rather just have that glue go back and forth between skins.
For long term storage over the summer, or in between ski tours, be sure to air dry your skins out of direct sunlight. Once dry, you can stick them to a skin saver, and store in a cool and dry place. Heat is the enemy of skin glue, and the best way to ruin to your first ski tour of the season is to overheat your skins and have gloppy glue. Also, never use radiant heat like a fire place or heater to dry your skins.
Either way, keep in mind that skins are the most "consumable" item of your setup, along with boot liners. Don't be afraid to wear them out and replace, that mean you've been getting a lot of skiing in!
If you still have questions don't hesitate to reach out. Shoot us an email at info@cripplecreekbc.com or book an appointment with us.


